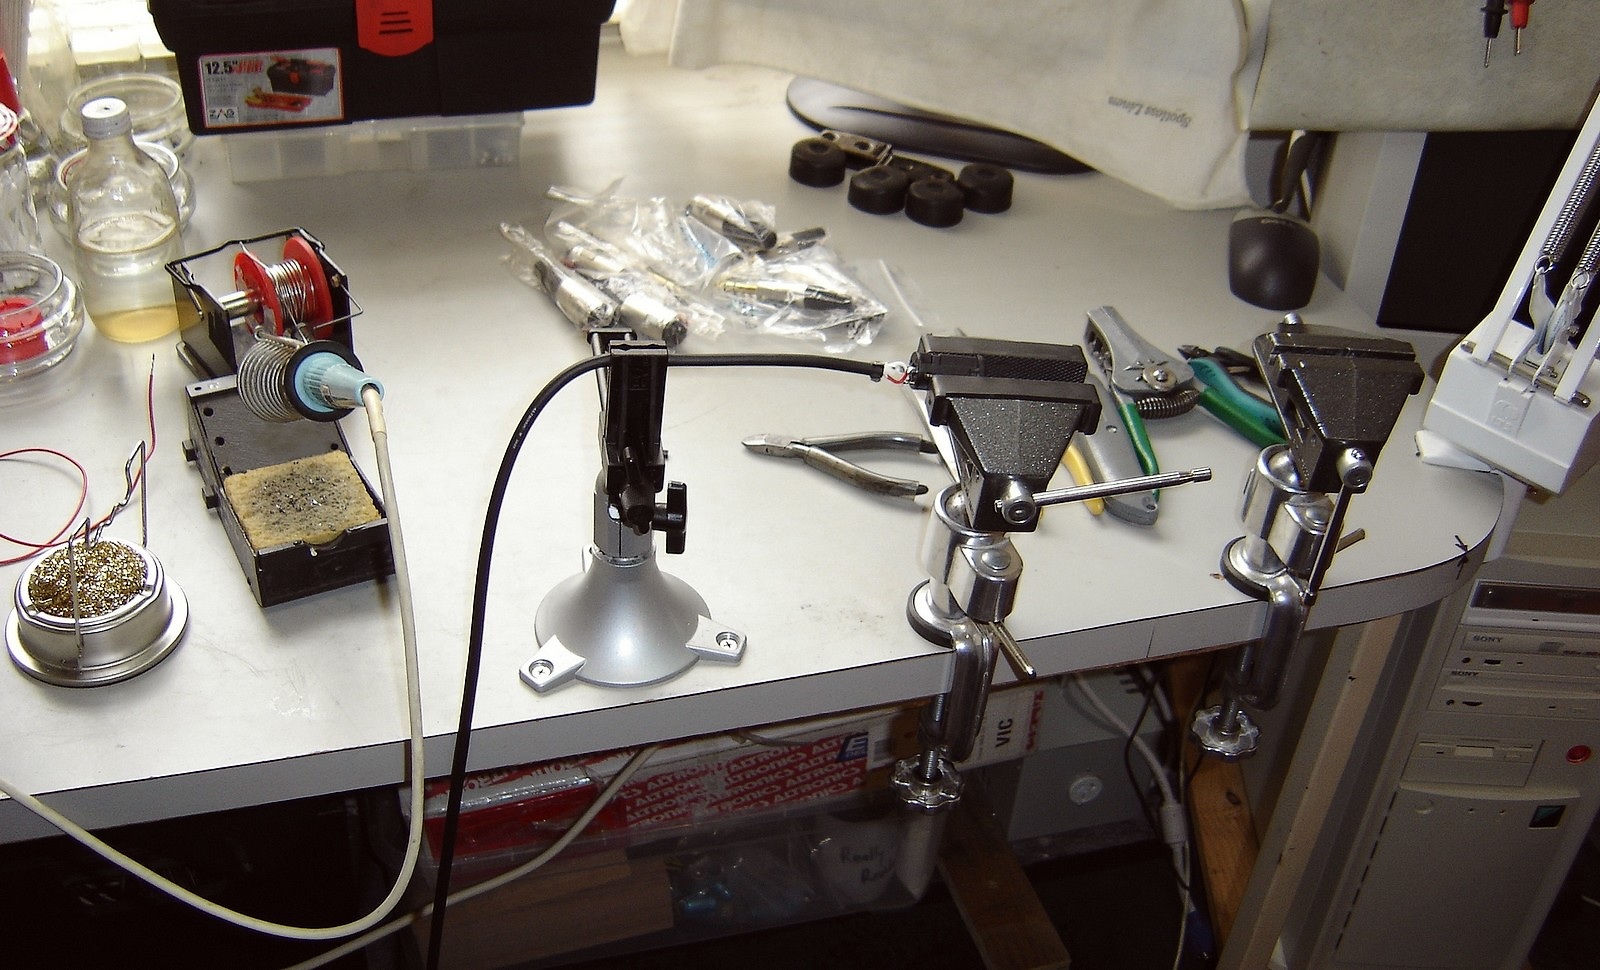
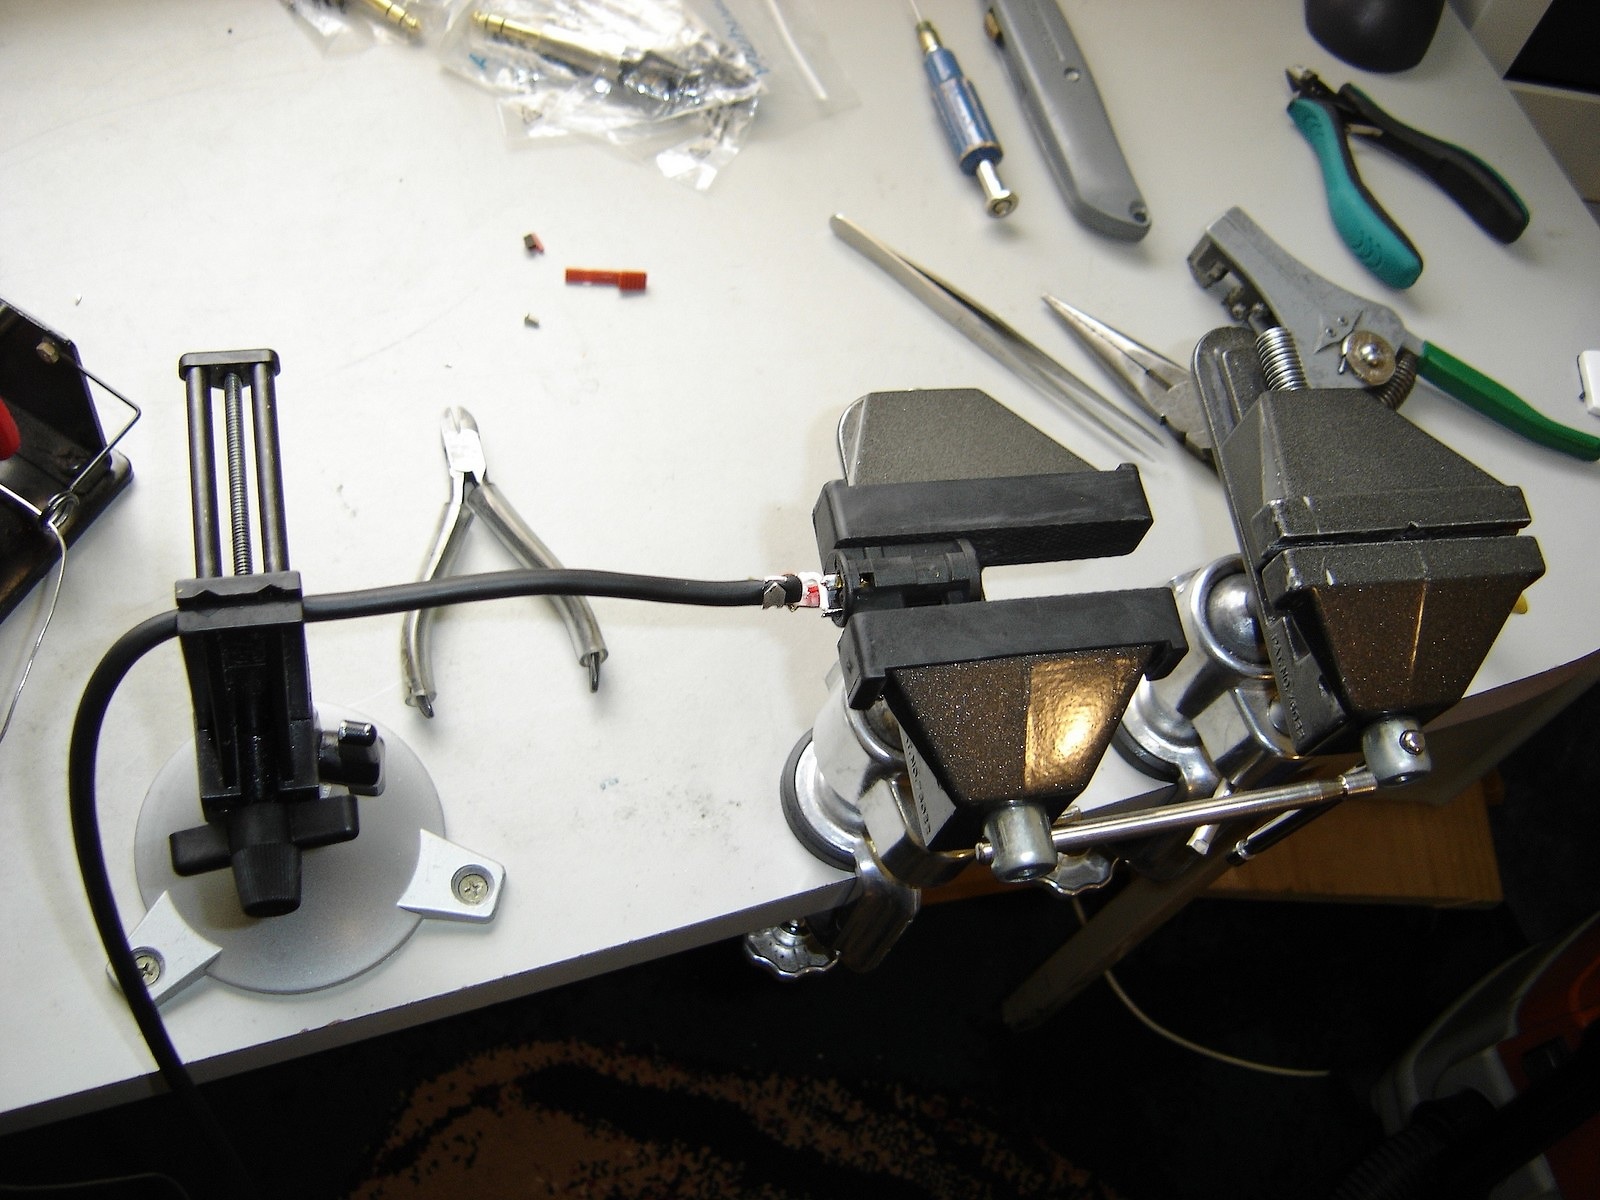
Below are some photos detailing the steps in the making of the TRS extension cables. The TRS (headphone) socket is a tricky job which involves several steps, and has taken some practice to get good consistent results. As you can see from the photos I use a jig setup which facilitates the best result. The socket assembly is taken apart into five pieces before work commences.
- earth terminal
- sliding thumb strip with spring
- small red plastic locking tooth
- small rectangular shaped silicone rubber piece
- socket body
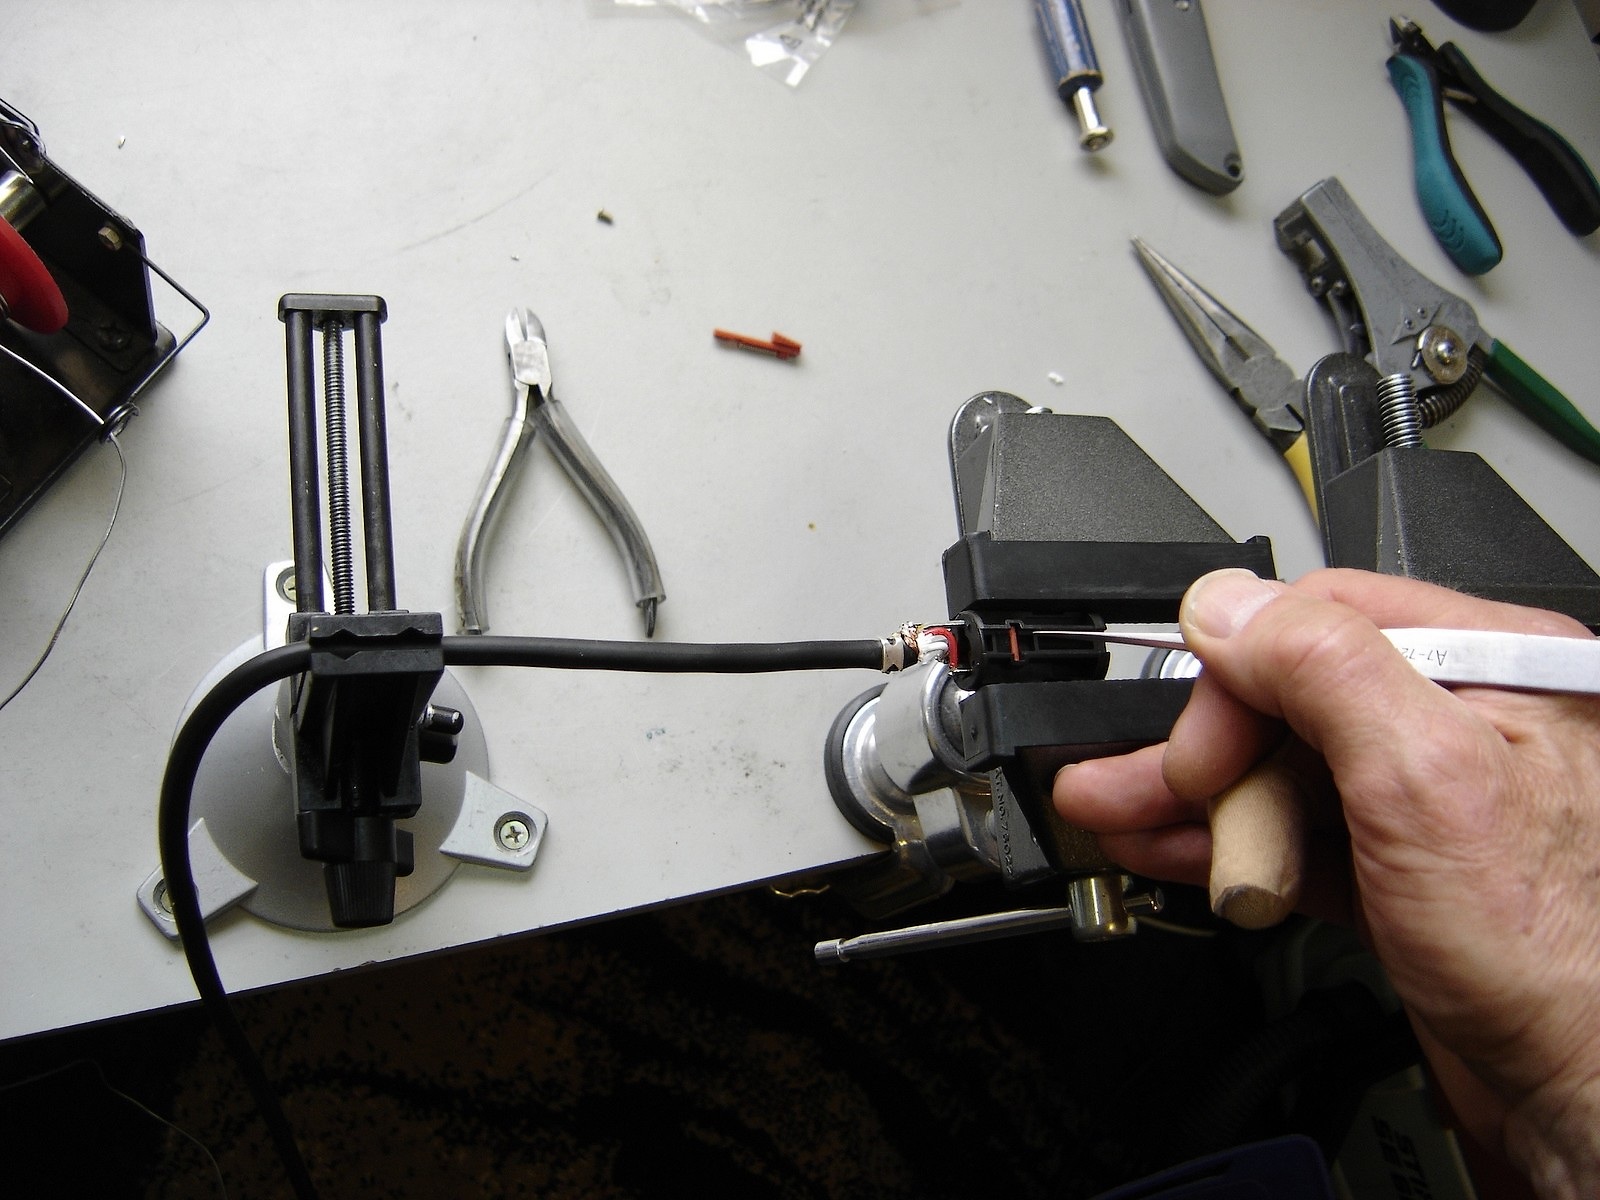
First the earth shield is gathered and soldered to the earth terminal piece which is removed from the plastic cylinder in the process. This avoids any possible heat damage to the socket body.
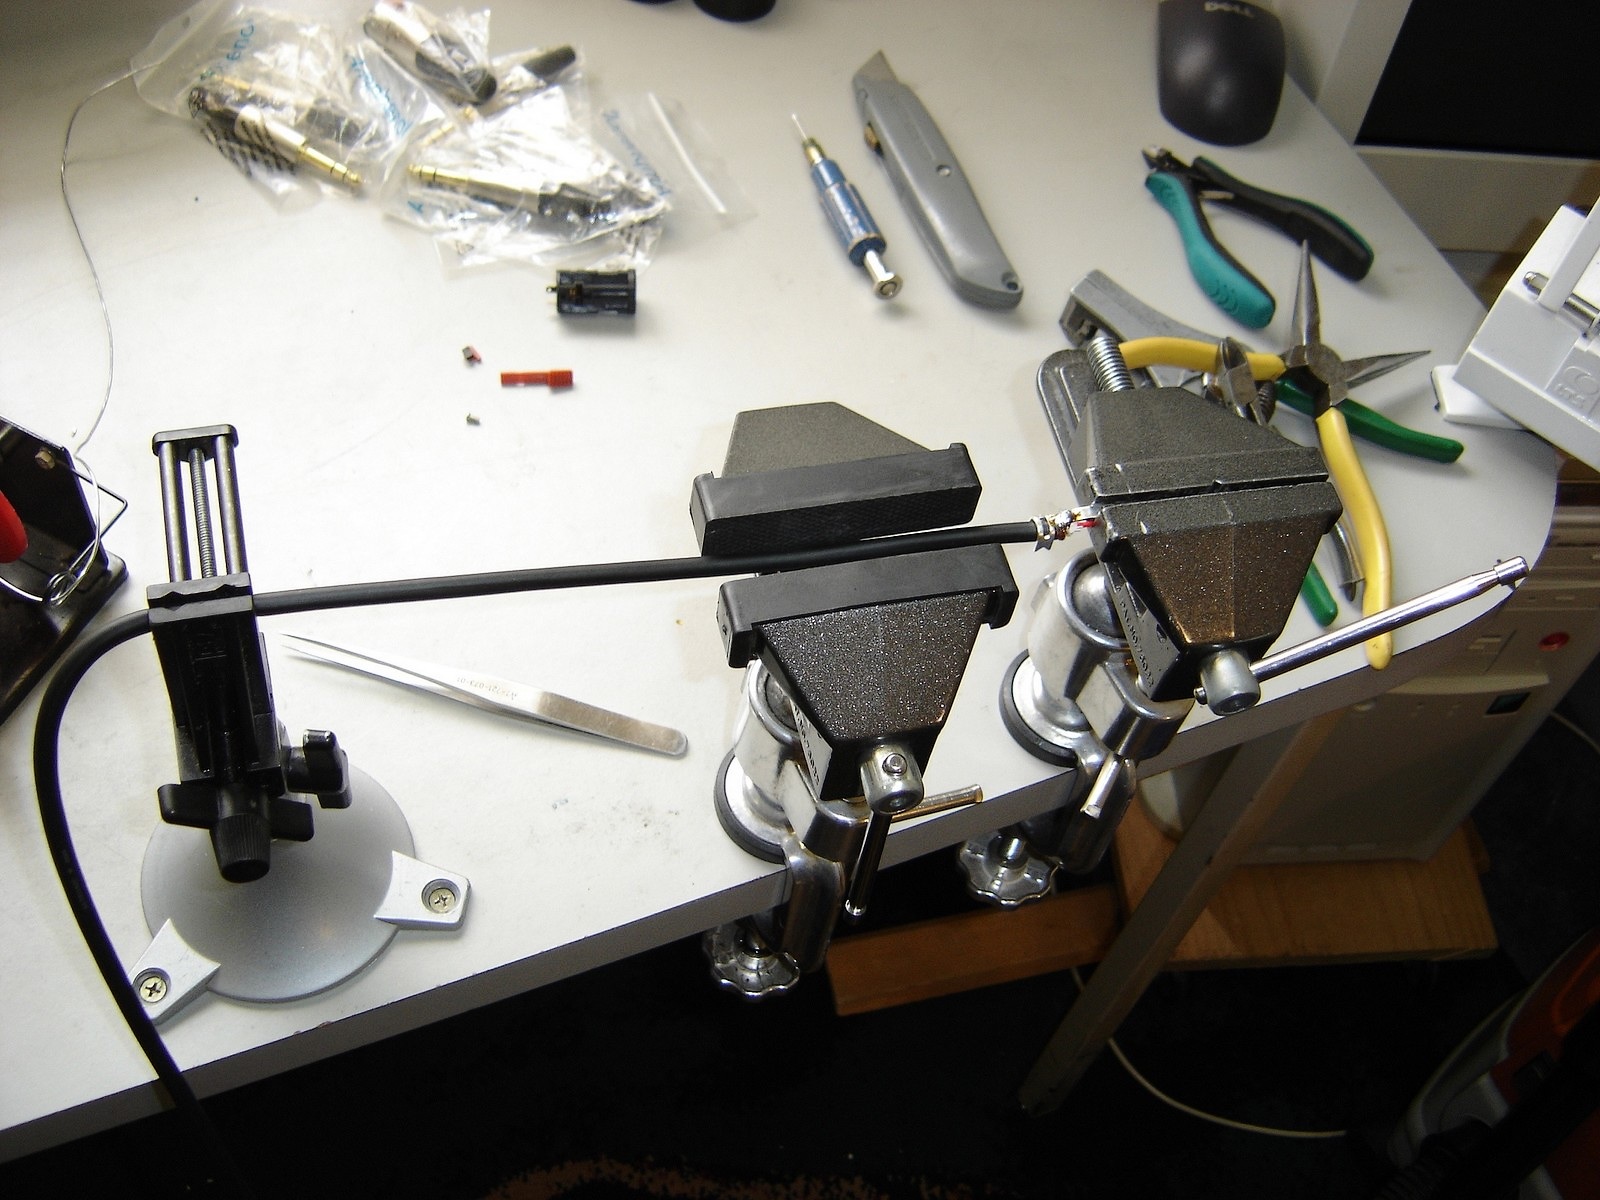
Next step is re-inserting the earth lug, and soldering the left or 'hot' (white), and the right or 'cold' (red) wires to the appropriate terminals. The nomenclature of 'hot' / 'cold' or left / right depends on the application. For TRS balanced line applications the in-phase or 'hot' signal goes to the tip of the jack, which for domestic stereo apps is always the left channel. Hence white is used, and red for right channel (or 'cold').
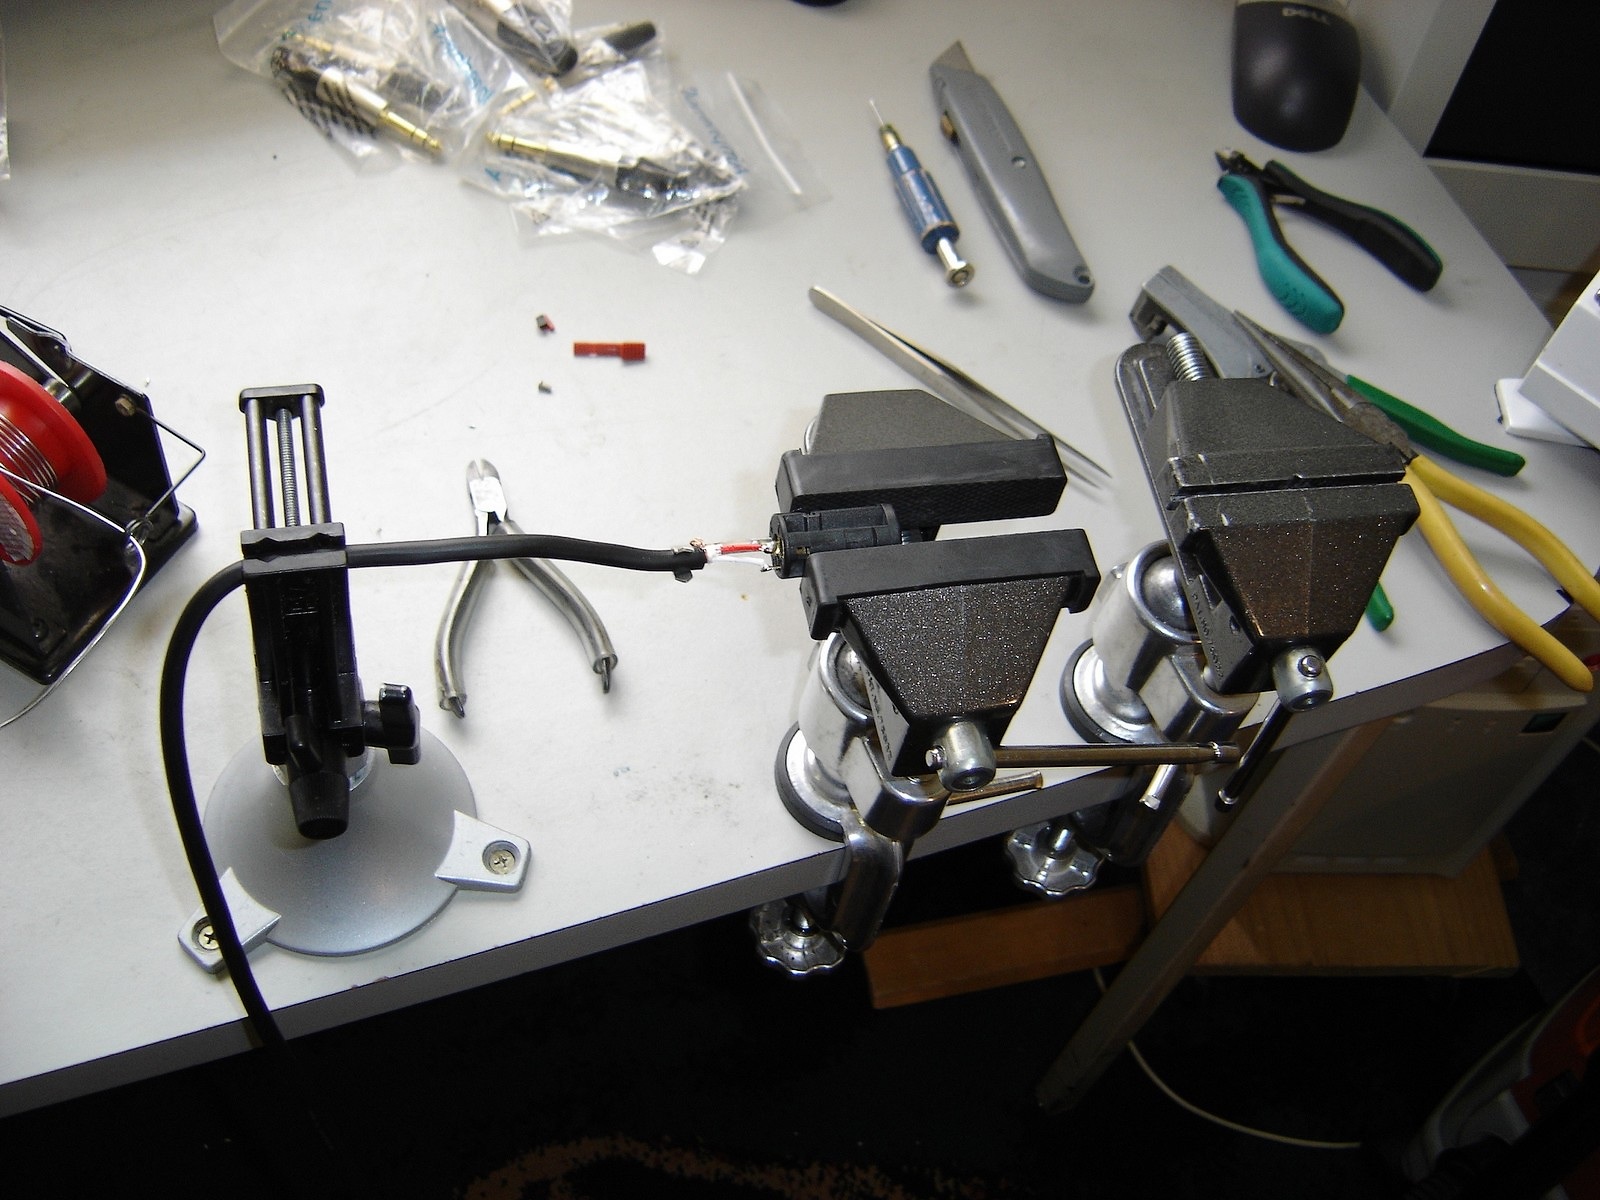
After inspection the earth lug clamps are applied.
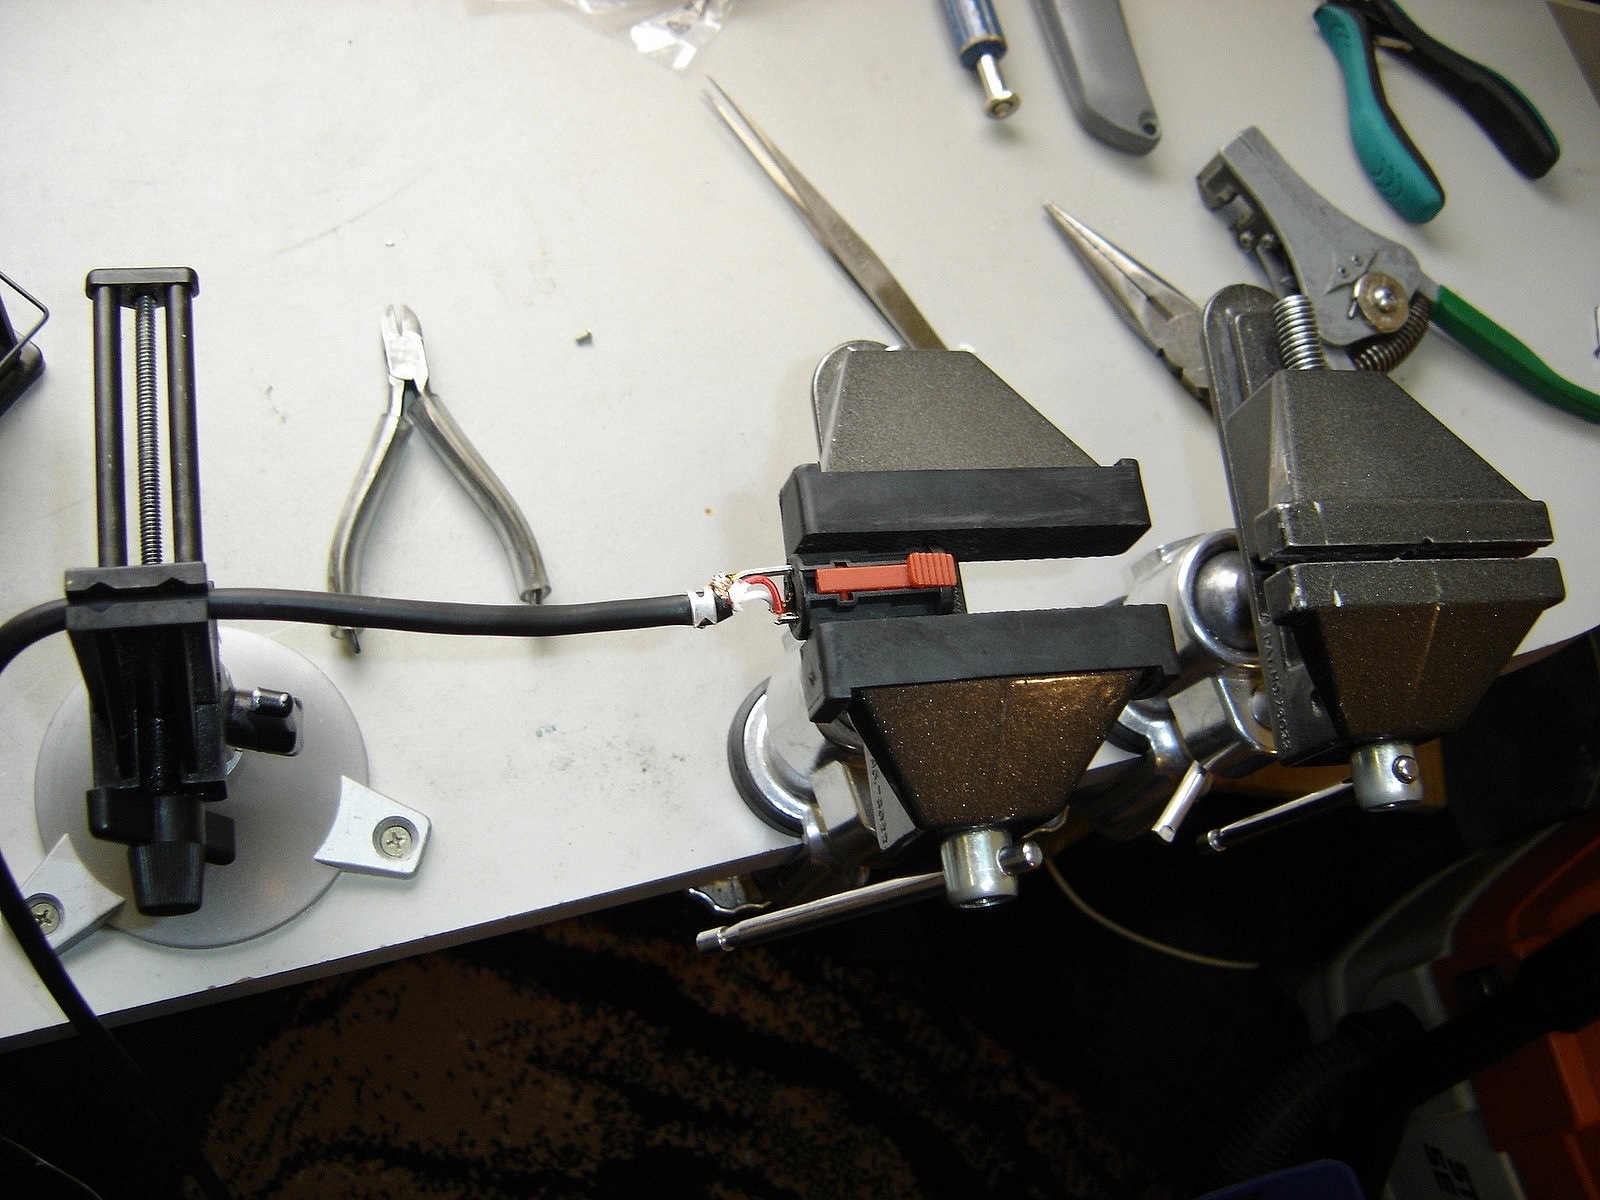
Now the small red plastic locking key is inserted, and the small rectangular hard silicone rubber anchoring plate just behind. If any of these parts are lost, the socket will not lock.
The sliding thumb lever with spring is now put back over the top. The small spring on the underside of the lever must engage with the docking piece of the socket body.
Now the metal socket body can be brought up and the locking screw inserted into the earth terminal inside. Then the rear cover is screwed home. Both the cover and the metal body must be threaded down the cable before work commences
Perfect soldering jobs always occur when this is forgotten!
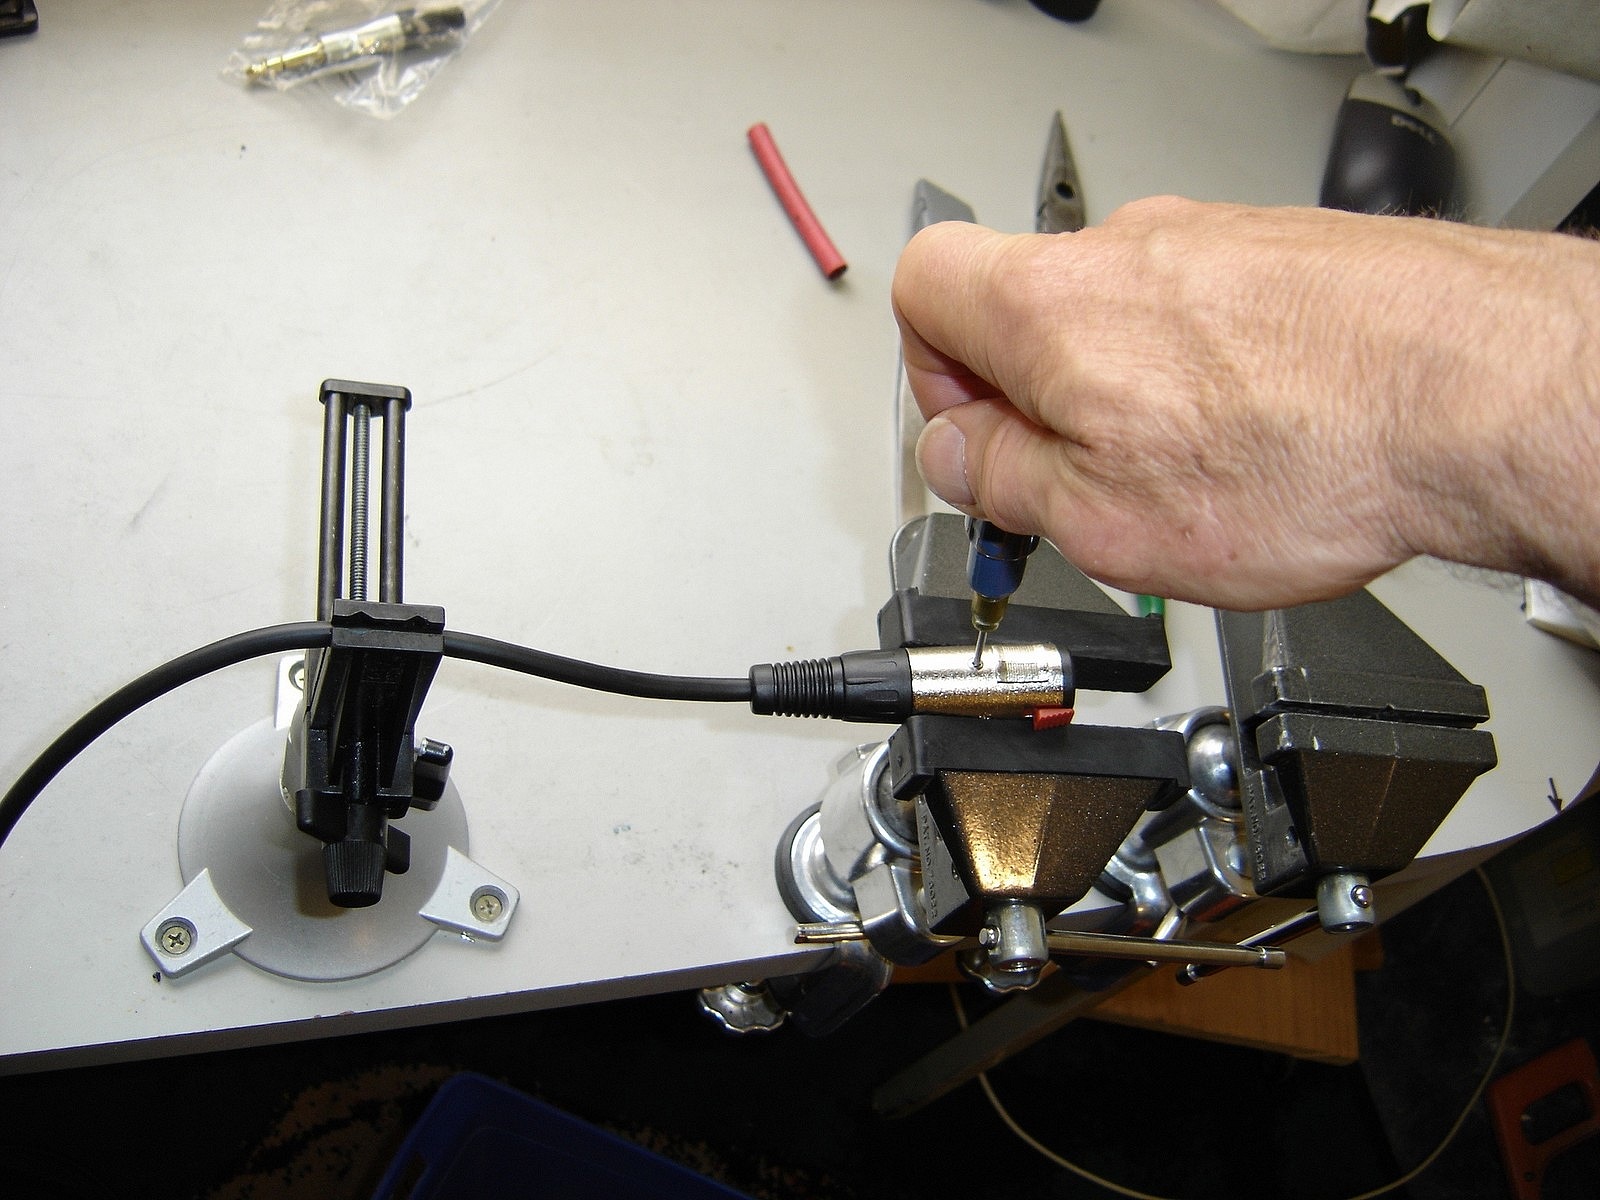
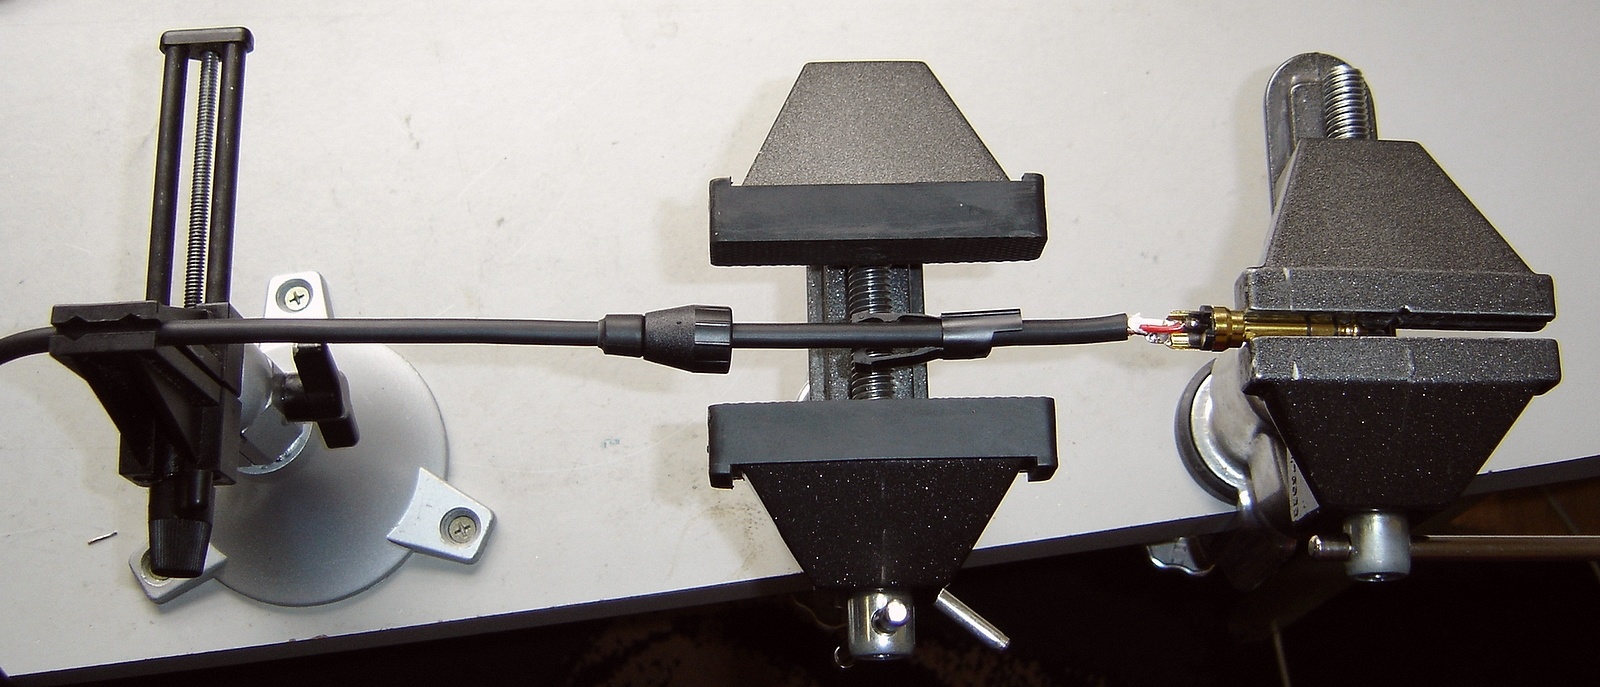
Finally the TRS jack is soldered and assembled.